Smoked brisket is the cut that teaches patience. I spent a lot of years trying to bully it into behaving, and every bad brisket came from the same place: too much heat, not enough rest, and a little too much ego. The good news is that smoked brisket does not require a luxury smoker or some secret handshake. It needs a solid trim, steady fire, and enough time for the collagen to melt. If you can hold a backyard pit around 225 to 275 degrees and leave the lid alone, you are already most of the way there.
Trimming smoked brisket without wasting good meat
Start with a whole packer if you can find one. That means the flat and the point still connected, which gives you better texture and more ways to serve it later. I like to trim the hard knobs of fat that never render, especially the thick lump between the point and flat. Leave about a quarter inch of fat on the fat cap, because you want enough protection for the flat without smothering the bark. If the brisket has a ragged edge or a flap that will burn before the rest is done, trim it clean. None of that meat is sacred if it is only going to turn leathery.
Seasoning should be simple. I use kosher salt and coarse black pepper most of the time, with a little garlic powder when I want a softer edge. You do not need a spice cabinet that looks like a barbecue scrapbook. Salt helps the meat hold onto moisture, pepper gives you bark, and the smoke does the rest. Let the seasoning sit while the pit comes up to temp so the surface starts looking dry instead of wet. That dry surface is what helps the crust set instead of sliding around like soup.
When the brisket goes on, put the fat cap in the direction of the heat source. On a lot of backyard offsets, that means fat cap down. On a pellet grill or a smoker with gentler heat from the top, fat cap up can make more sense. The trick is not some universal rule. The trick is matching the meat to the hot side of your cooker so the flat does not dry out before the connective tissue breaks down.
Fire control matters more than wood obsession
A lot of home cooks get stuck chasing the perfect wood, and then they forget the pit. Oak is steady, hickory brings a stronger backbone, and cherry gives the bark a deeper color. Any of those can work. What matters more is keeping the fire clean and stable. If your smoke looks thick and white for hours, your brisket is going to taste like a campfire that got mad at you. Clean smoke looks thin and blue, almost hard to see.
This is where a simple thermometer setup pays for itself. I want one probe in the thickest part of the flat and another reading on the grate if the cooker runs uneven. My old notebook is full of lessons like this: if the grate is swinging 30 degrees every time the firebox gets opened, dinner gets harder. Hold a steady pit temp, then let time do the work. A 12-pound brisket is not a weeknight pork chop. Plan on 8 to 12 hours, sometimes longer, depending on the meat and the weather.
Around hour three or four, the surface usually stops taking on much color and the internal temperature may sit still for a while. That stall is normal. The moisture inside the meat is cooling the surface while the collagen keeps breaking down. You do not beat the stall by cranking the heat to the moon. You beat it by staying calm, trusting the process, and not opening the lid every ten minutes like the brisket owes you money.
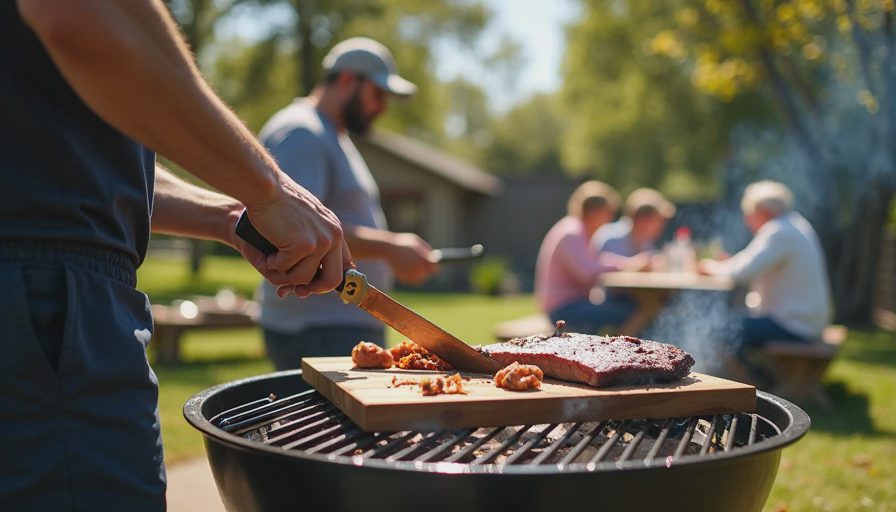
Wrapping, resting, and the part most people rush
For smoked brisket, I wrap when the bark is set and the color looks right, usually somewhere in the 160s to low 170s. Pink butcher paper gives you a little breathing room, so the bark stays firmer than it would in foil. Foil is fine if you need to push through the stall faster, but it softens the crust. If you are cooking for people who care about texture, paper is the safer play. A lot of the best backyard brisket I have cooked came off the pit wrapped in paper and finished with a little patience instead of a panic move.
The end point is not a number alone. You want the flat to probe like warm butter in multiple spots, and that usually lands around 195 to 205 degrees internal. I have had briskets get there early and still need time, and I have had others sit at 198 for nearly an hour before they felt right. That is why the probe test matters more than a hard finish temp. Once it passes, rest it. Not five minutes. Not while everyone is standing around with a knife in hand. Give it at least one hour, and two is even better if you can hold it in a cooler lined with towels.
The rest matters because the juices need to settle back into the meat. Slice too early and the cutting board gets your dinner instead of your guests. I learned that the hard way on a Sunday when I was convinced I had nailed a beautiful brisket, only to watch half of it run out across the board like I had opened a faucet. It tasted fine, but it ate like disappointment.
Slicing the flat and keeping the point juicy
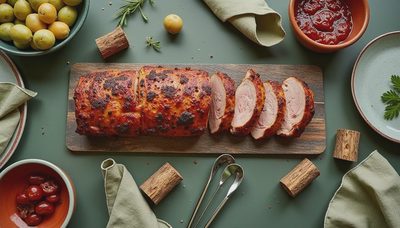
Once it has rested, separate the point from the flat if you want cleaner slices. The grain changes direction between those two muscles, and slicing across the grain is what keeps each bite tender. Cut the flat about pencil-thick. If you go too thin, it falls apart. Too thick, and it starts chewing like roast beef in work boots. The point can be sliced a little thicker, or cubed for burnt ends if you want the crowd-pleaser version.
If the slices look dry, do not blame the wrap first. Usually the problem started earlier, either with too much heat, too little rest, or overtrimming the fat. If the bark is great but the flat is still a little firm, that means the cooker was probably ahead of the meat. Next time, keep the pit a touch lower and let the brisket go longer before you wrap. If the flat is juicy but the bark turns soft, skip the foil and let the paper do its job.
One thing I tell neighbors all the time is that smoked brisket is less about one magic move than about three small ones done well. Trim it clean, hold steady heat, and rest it like you mean it. That is the whole game. When those pieces line up, you do not need to apologize for the results, even if you cooked on a worn-out offset, a pellet grill, or the smoker you inherited from your uncle.
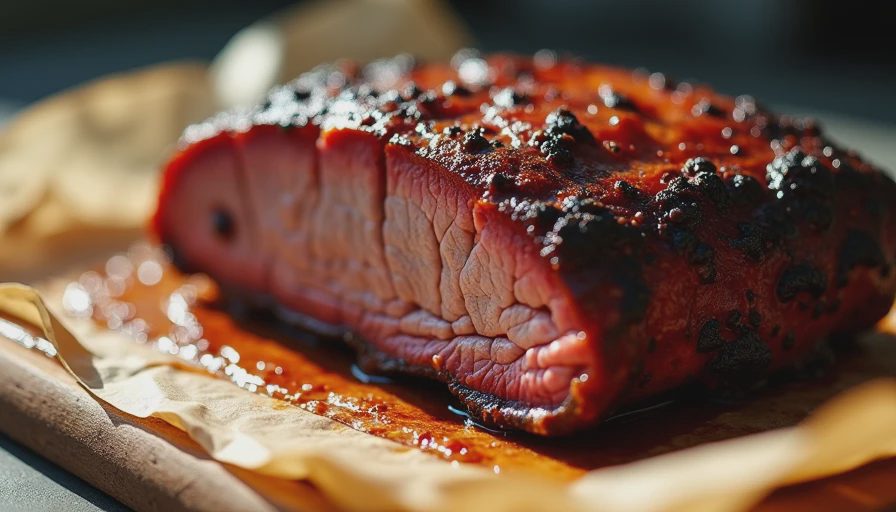
The part of smoked brisket that wins people over
The reason folks get hooked on smoked brisket is not just the bark or the smoke ring. It is the contrast. A good flat slices clean, the point turns rich and almost silky, and the fat gives each bite a little lift without feeling greasy. That is why I still treat brisket like a project instead of a checkbox. It rewards attention, but it does not reward fussiness.
If this is your first serious brisket, do not aim for perfect. Aim for better than last time. Keep notes on the weather, the pit temp, the wrap time, and how it felt when the probe went in. My notebook has enough cautionary tales in it to fill a small book, and almost every win came from correcting one mistake at a time. The next cook gets easier when you know whether the fire was too hot, the trim was too aggressive, or the rest was too short.
So build your plan, buy the best brisket you can reasonably find, and give it time. If the family is coming over, start early and eat late. Low and slow, and don’t overthink it. That is still the cleanest way I know to make smoked brisket that disappears before the potato salad does.

No letters yet — be the first to write.