If you bought, inherited, or are eyeing an offset smoker, the good news is that you do not need a miracle to make good barbecue on it. You need a fire that stays steady, a little patience, and a plan you can repeat next Saturday. I learned that the hard way after burning more briskets than I care to admit, then filling a spiral notebook with weather notes, vent settings, and the kind of mistakes that only show up when dinner matters.
Why an offset smoker teaches patience
An offset smoker is honest in a way a pellet grill is not. It tells you when the fire is weak, when the wind is working against you, and when you got lazy and opened the door too often. That is exactly why I like it. The firebox lives off to the side, the hot air moves across the cook chamber, and the food gets that cleaner wood-smoke flavor people chase for brisket, ribs, and pork shoulder.
The learning curve is real, but it is not mystical. The pit runs on airflow, fuel size, and patience more than on fancy parts. A thin, bargain unit reacts fast, which can be frustrating in January and pretty handy in July. A heavier pit holds heat better and usually forgives small mistakes. Either way, the same rules apply: build a real coal bed, feed it in small amounts, and stop chasing the thermometer every five minutes.
If you are comparing pits in the store, think about what you actually cook. A couple of racks of ribs and a pork butt do not need a giant chamber. Brisket needs more room and a little more steel if you want even heat across the grate. I would rather see a family buy a solid, medium-size pit they will use than a huge showpiece that sits under a cover most of the year.
The firebox, stack, and grate height that matter
A lot of people worry about accessories before they understand the basics. Start with the firebox. You want enough room for a real wood or charcoal fire without stacking fuel against the door. You also want a stack that pulls smoke through the pit instead of letting it hover and turn bitter. Good airflow is the whole game. If the smoke looks thick and white for a long stretch, you are usually burning dirty.
Grate height matters more than folks think. Food set too close to the firebox side can cook hotter and faster, which is fine if you know it is happening. Food farther from the box usually rides gentler heat. That is why I rotate briskets and swap rib racks during a long cook. I am not doing it to look busy. I am doing it because one end of the pit behaves differently than the other, and pretending otherwise is how you get one dry flat and one underdone point.
For fuel, I like a base of charcoal with splits of seasoned hardwood on top. Oak is a safe place to start because it is steady and easy to manage. Hickory adds more punch. Fruit woods can work well for pork, but I would not build my whole fire plan around them unless I already knew how my pit behaves. Low and slow, and don't overthink it.
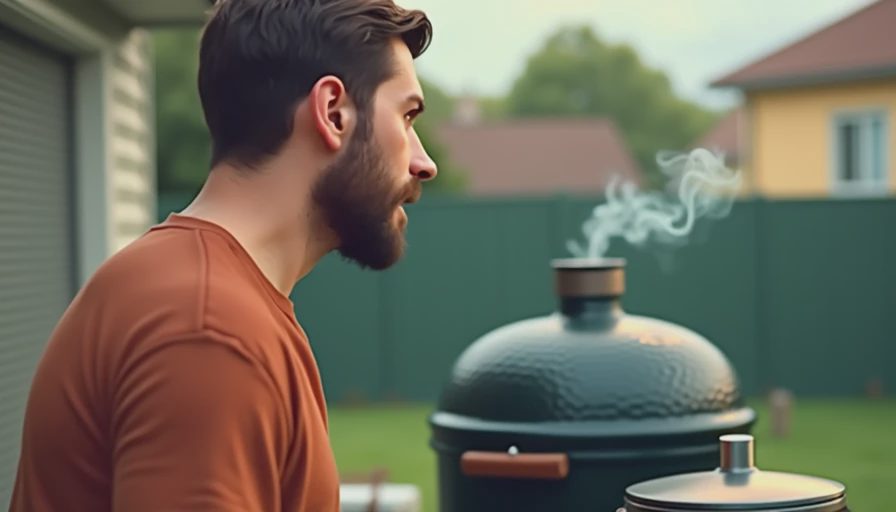
Buying an offset smoker without overpaying
The market has two traps: the too-cheap pit that leaks heat like a screen door, and the shiny overbuilt rig that costs more than a used truck. I do not think you need to spend thousands to cook good barbecue, but I also would not buy the flimsy box-store special just because it looks cute in the parking lot. Thin steel can work, but it usually needs more babysitting. Heavier steel costs more and saves you effort later.
If you are shopping used, check the door fit, the welds, and the firebox bottom. Surface rust is normal. Rotten steel is not. Open the stack damper and make sure it moves freely. Look at the grate rails and ask whether replacement grates are still easy to get. I have seen plenty of decent used pits around the $200 to $700 range. New backyard models from brands like Oklahoma Joe's or Old Country often live in the lower thousands, while heavier custom-style pits can climb fast from there.
The right size depends on how you cook. If you are feeding four people on a normal weekend, a modest chamber is fine. If you want to run two briskets, ribs, and sausage for a party, buy a little more room than you think you need. People always regret running out of grate space before they regret having an extra square foot of steel.
How I run an offset smoker on a weeknight schedule
I do not treat every cook like a competition. On a busy weeknight, I want a repeatable routine. I start early enough to build a bed of coals before the meat goes on. Then I add one split at a time and let it catch fully before adding the next. The goal is not a giant bonfire. The goal is a clean, steady burn that holds the pit where I want it.
I set my food on the cooler side first, then rotate if the pit has a hot spot. I watch color more than I stare at numbers. Good bark tells you the smoke is behaving. When I need more heat, I add fuel. When I need to calm things down, I close the firebox door a touch and let the pit settle instead of panicking. That is the part most beginners skip. They keep changing three things at once, then wonder why nothing makes sense.
On the meat side, brisket and pork shoulder are patient teachers. Ribs are less forgiving if the pit swings hard, but they are also a cheap way to practice. If a rack finishes a little fast, you learned something. If it finishes dry, you learned something more useful. I still write that stuff down, because the same pit will act different on a humid Missouri morning than it does on a dry, windy afternoon.
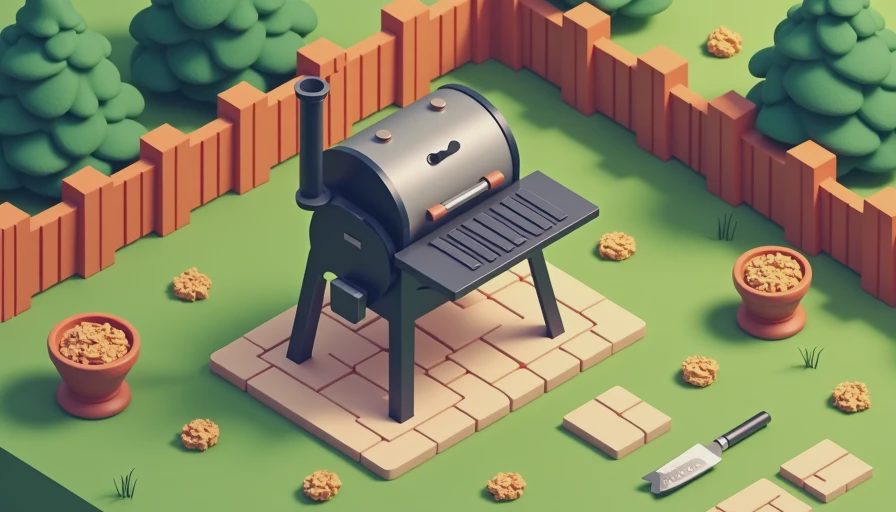
Common mistakes with an offset smoker
The biggest mistake is trying to run it like an oven. It is not an oven. It is a fire management tool with a cooking chamber attached. If you keep opening the lid, you dump heat and make the fire work harder. If you load the chamber with wet wood, you get dirty smoke and bitter bark. If you pile on too much fuel at once, the pit spikes and the meat cooks unevenly.
Another classic mistake is ignoring airflow. Some folks shut the intake too far because they are scared of high temps, then they wonder why the fire smolders. Others leave everything wide open and get a runaway pit. You want enough air to keep the fire clean, then enough control to hold the cook in a predictable range. That is usually somewhere around the 225 to 275 degree zone, depending on the meat and the pit.
There is also the mistake nobody wants to hear: buying too much cooker for your actual life. If you only smoke twice a month, a giant pit can turn into an expensive storage problem. If you cook for a crowd every weekend, a tiny chamber will make you miserable. Match the pit to your habits, not to somebody else's highlight reel.
When an offset smoker is the right call
An offset smoker makes sense when you want real wood flavor, enough room for family-size cooks, and a pit that rewards skill instead of hiding from it. It is not the easiest route, but it is a very good route if you like learning by doing. I like tools that tell the truth, and this one does.
If you are buying your first pit, do not wait for the perfect model or the perfect price. Pick something with solid steel, decent airflow, and enough grate space for the cooks you actually plan to run. Then season it, light it, and cook ribs before you chase a full brisket. You will learn faster, waste less meat, and spend more time eating than overthinking. That is the whole point.

No letters yet — be the first to write.