The first time I made pulled pork for a backyard crowd, I treated the smoker like a bomb I had to defuse. I watched the temperature every five minutes, opened the lid whenever I got nervous, and turned a perfectly good pork shoulder into something closer to smoky pot roast. Since then, I have cooked plenty of pulled pork for paying customers, competition judges, Kate, and two impatient kids. The lesson is simple: choose the right cut, hold a steady fire, and let the meat tell you when it is ready.
You do not need a $3,000 offset smoker or a custom-built prep kitchen. A Weber kettle, a basic pellet grill, or an inherited vertical smoker can produce excellent barbecue. Low and slow, and do not overthink it.
Choose the Right Pork and Build Flavor
For pulled pork, buy a pork butt or Boston butt, which is actually a cut from the upper shoulder rather than the rear of the animal. A bone-in piece weighing seven to nine pounds is a dependable choice for a family gathering. The bone gives you a useful tenderness check later, and the fat running through the shoulder helps the meat stay moist during a long cook.
Look for a shoulder with consistent marbling and a fat cap that is not excessively thick. I usually trim away any hard, waxy chunks of external fat, leaving roughly one-quarter inch in the thicker areas. That is enough protection without creating a slick layer that keeps seasoning and smoke from reaching the surface.
For seasoning, start with kosher salt, coarse black pepper, paprika, garlic powder, and a little brown sugar. My everyday Kansas City blend leans savory, with enough sugar to help the bark darken but not so much that it burns. Apply the rub generously from every angle, then let the meat sit while you prepare the cooker. An hour in the refrigerator helps the surface dry slightly and gives the salt time to work inward.
A binder is optional. Yellow mustard, hot sauce, or a thin coat of neutral oil can help the rub stick, but none is required for good pulled pork. The smoke, seasoning, and rendered fat do the heavy lifting.
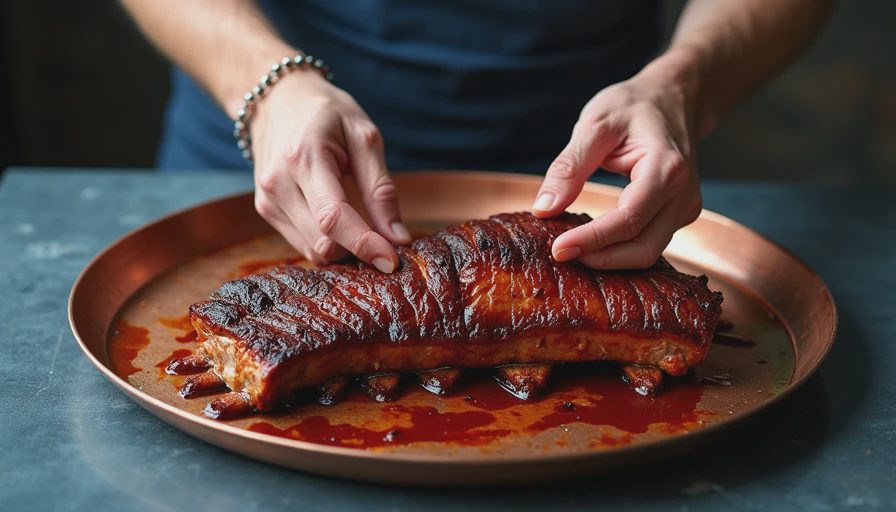
Manage the Smoker Before You Add Meat
Set your cooker for about 250 degrees Fahrenheit. Anywhere from 225 to 275 works, but chasing one exact number will make you miserable and will not improve dinner. On an offset smoker, use a small, clean fire and add a split log when the previous one is mostly burned down. Thick white smoke usually means the fire needs more oxygen or the wood is too wet. Aim for light, clean smoke that smells pleasant instead of bitter.
On a pellet grill, choose a mild or medium wood such as apple, cherry, oak, or hickory. Pellets make temperature control easier, but the same rule applies: do not keep opening the lid to inspect the meat. Every peek dumps heat and extends the cook. A charcoal kettle needs a two-zone setup, with coals banked on one side and the pork placed away from direct heat.
Use a reliable grate thermometer, but do not assume the number on the lid is accurate. I keep a small digital probe clipped near the cooking surface because the difference between the lid reading and the actual grate temperature can be 25 degrees or more. Put the pork on with the thicker side facing the hotter part of the cooker. If there is a fat cap, place it according to your cooker’s heat pattern; fat does not magically baste meat from above, so shielding the leaner side from direct heat matters more.
Cook by Texture, Not by a Magic Clock
Place the shoulder on the grate and close the lid. For pulled pork, a seven- to nine-pound shoulder commonly takes eight to twelve hours, but weather, meat shape, cooker design, and opening the lid all change the schedule. Plan extra time rather than promising guests an exact serving minute.
The first stage builds bark and smoke flavor. Leave the shoulder alone until the bark looks dark red-brown and feels dry to the touch. Internal temperature often reaches 160 to 170 degrees before the cook slows down. This stall happens because moisture evaporating from the surface cools the meat, much like sweat cools your skin.
You can wait through the stall, or you can wrap. Unwrapped cooking usually creates firmer bark and deeper smoke flavor. Wrapping in unwaxed butcher paper protects the bark while speeding the finish. Foil moves faster but softens the crust more. I use butcher paper when I have time and foil when hungry children are circling the kitchen.
If the bark is where you want it, wrap the shoulder tightly with a small splash of apple juice, cider vinegar, or plain water. Do not drown it. You are creating a humid cooking environment, not making soup. Return the package to the smoker and keep the heat steady.
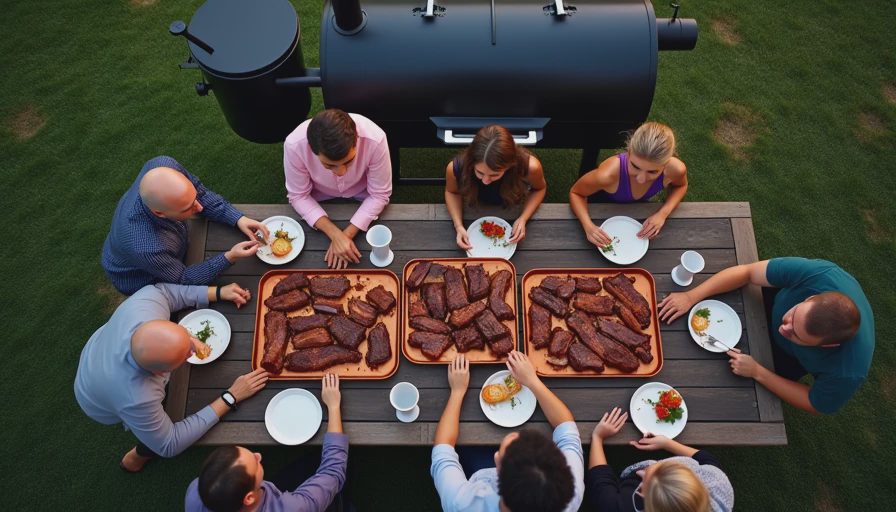
Know When the Shoulder Is Actually Done
Temperature is a guide, not a finish line. Start checking the meat around 195 degrees, then probe several spots with an instant-read thermometer. Properly finished pulled pork usually lands somewhere between 195 and 205 degrees, but tenderness is the real test. The probe should slide into the meat with very little resistance, like pushing into softened butter.
The bone should twist easily, and the shoulder should jiggle when you lift it. If the thermometer says 200 but the meat still feels tight, keep cooking. I have pulled shoulders early because the clock said dinner was late, and the result was stringy, chewy meat that no amount of barbecue sauce could rescue.
Once the shoulder is tender, move it to a clean pan and keep it wrapped. Rest it for at least one hour. A large shoulder can rest two to three hours in an empty cooler lined with towels, provided you monitor food safety and keep it hot. Resting lets juices settle and gives connective tissue time to relax, which makes the final shred much better.
Pull, Sauce, and Serve Without Ruining It
When the shoulder is cool enough to handle, remove the wrap and save any juices in the bottom of the pan. Pull away the bone, large pockets of soft fat, and anything that feels rubbery. Shred the meat into a mix of chunky pieces and thin strands. That combination gives you bites with texture instead of a uniform pile of mush.
Taste before adding sauce. Good pulled pork should stand on its own. Stir a little of the reserved juice back into the meat, then add sauce at the table or toss only the portion you plan to serve immediately. A sweet Kansas City-style sauce works well with a smoky bark, while a thinner vinegar sauce brightens rich shoulder. A simple sandwich needs sturdy white bread or a soft bun, crunchy slaw, and pickles for contrast.
Leftovers are one of the best reasons to cook a large shoulder. Refrigerate them promptly in shallow containers and use them within a few days, or freeze portions with a spoonful of cooking juices. Reheat gently in a covered skillet, saucepan, or microwave so the meat does not dry out.
The Short Version for Your Next Cook
Buy a bone-in shoulder, trim only the hard fat, and season it generously. Run the cooker near 250 degrees with clean smoke. Leave the lid closed, expect a stall, and wrap only when the bark looks right. Finish when the meat probes tender, not when a recipe’s clock says it should be done. Rest it before shredding, and sauce after tasting.
That process works on almost any backyard setup. My old offset has produced great meals, but so has a borrowed kettle grill when I kept the fire small and stayed patient. If this is your first try, write down the weather, pit temperature, wrapping time, and finish temperature in a notebook. Next time, you will know exactly what to change. Pulled pork rewards calm cooking far more than expensive equipment. Start the fire, trust the process, and let dinner take the time it needs.




No letters yet — be the first to write.