If smoking brisket feels like gambling with a $70 hunk of beef, you're not alone. I have ruined enough briskets to know the difference between a bad cook and a bad plan, and the good news is that most of the pain is fixable. Once you learn where to trim, how to hold steady heat, and when to stop poking the meat, the whole process gets a lot calmer. This is backyard barbecue, not a medical procedure. Keep the fire steady, trust your thermometer, and remember the line I tell myself every spring: low and slow, and don't overthink it.
Smoking brisket starts with the right cut
A good brisket starts in the meat case, not at the smoker. Look for a whole packer with a flat that feels thick for its size and a point that is still well attached. Marbling matters more than fancy labels. Choice grade is usually plenty if the fat is distributed well, and Prime can be great if the price does not get silly. In a lot of grocery stores, a packer runs roughly $3 to $6 a pound, while a brisket from a local butcher can cost more if the sourcing is stronger.
When smoking brisket, I look for a fat cap I can trim to about a quarter inch. You do not want a thick white blanket sitting on top and blocking seasoning from doing its job. Remove hard fat that will never render, square off ragged edges, and make the shape more even so the thin end does not race ahead of the thick end. Season simply with kosher salt and coarse black pepper, or add a little garlic powder if that is how your family eats it. Fancy rubs are fine, but they are not a substitute for even trimming.
Heat control beats heroics
A pellet grill, an offset, or a Weber kettle can all do the job, because smoking brisket is really about holding a steady cook between 225 and 275 degrees. I like 250 for most backyard cooks. It is hot enough to keep the bark moving and gentle enough that you are not fighting your fire every thirty minutes. If you are on a kettle, a snake or ring of charcoal with a few chunks of oak works. If you are on an offset, use good splits and keep the exhaust open. If you are on a pellet grill, clean the burn pot and do not fill it with damp pellets from last winter.
Put the brisket on with the fat cap facing the heat source, then let it ride. The first few hours are about color and smoke, not drama. You want a deep mahogany bark, not a black crust that tastes like a campfire accident. A decent instant-read thermometer, like a Thermapen, makes life easier, but you still need to pay attention to feel. When the probe starts slipping through the flat with only light resistance, you are getting close.
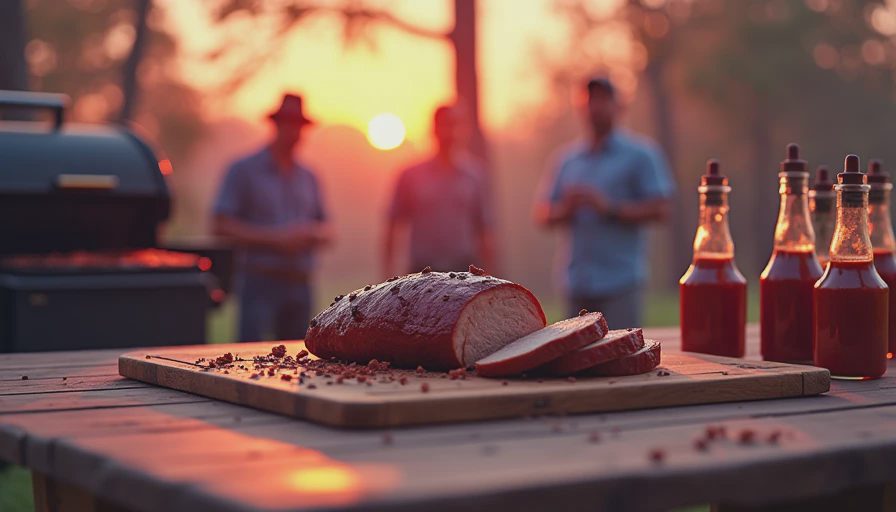
Smoking Brisket gets easier once the stall shows up
Somewhere around the low 160s, the temperature can sit there like it forgot what it was doing. That is the stall, and it is normal. The meat is sweating, the surface is cooling, and your fire is not broken. This is the point where a lot of folks panic, open the lid too often, and waste the heat they worked to build. Resist that urge. Give it time until the bark looks set and the fat on the surface has taken on a firm, dry look.
Wrapping is your call, but I like unwaxed butcher paper when I want to protect the bark and keep a little texture. Foil will speed things up more, though it softens the bark a bit. If dinner is running late, foil is not a sin; it is a tool. After the wrap, keep cooking until the flat probes tender, usually somewhere around 195 to 205 degrees, though the number is less important than the feel. A brisket can be stubborn one day and silky the next, so trust the poke test more than the alarm on your thermometer.
Wrap, rest, and save the juices
The rest is where a lot of backyard cooks leave money on the table. Pull the brisket off, leave it wrapped, and hold it in a cooler or an empty oven for at least one hour. Two hours is even better if your schedule allows it. That pause lets the juices settle back into the meat instead of flooding your cutting board. I have rushed this step, and the result was a hot, beautiful-looking brisket that sliced dry enough to make me say things I should not repeat in polite company.
When you unwrap it, pour any collected juices into a bowl and save them. Skim the fat and spoon a little over the sliced meat if the brisket needs help. Slice the flat against the grain in pencil-thick slices. The point can be cut thicker or cubed for burnt ends if you want to make a second meal out of the same cook. If the slices bend over your finger before they break, you are in good shape.
The mistakes I made before I got competent
My worst briskets came from trying to fix them too often. I would crank the heat to save time, open the lid every twenty minutes, or wrap too early because I was nervous about bark color. None of that helped. The meat is not looking for your confidence; it is looking for steady conditions. Another mistake was buying a brisket that looked huge but had a skinny flat and a giant pocket of fat in the middle. It sliced unevenly and made me think I had messed up the cook when the real problem started at the store.
I also learned to stop treating every smoker the same. An offset needs more attention. A pellet grill is more hands-off. A kettle can surprise you if the vents are dialed in and the charcoal is arranged well. The lesson is not to chase gear. The lesson is to learn your pit and keep notes. I still write down the weather, the fuel, and what the bark looked like, because memory gets fuzzy after a long Saturday.
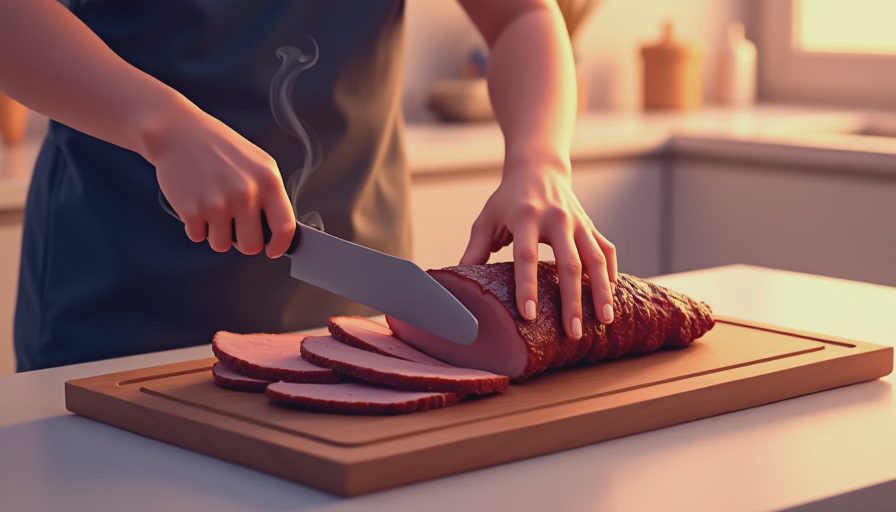
A simple timeline for a 12-pound packer
Here is the rhythm I use for a full brisket on a normal weekend. Trim and season in the morning, then get the smoker settled before the meat goes on. Let it cook unwrapped until the bark has real color and the internal temp is somewhere around the stall. Wrap when the surface feels set, not before, then keep cooking until the flat feels tender all the way through. After that, rest it longer than you think you should. If you need a number to plan around, a 12-pound packer often takes 10 to 14 hours, plus the rest, depending on pit temp, wind, and how much fat the brisket carries.
Once you do this a couple times, the process stops feeling mysterious. You will know what a good bark smells like, what a proper rest feels like, and when the flat is ready without guessing. That is the whole game. Once you treat smoking brisket like a steady backyard job instead of a dare, it gets a lot less stressful, and the slices on the cutting board start looking like you meant it from the beginning.


No letters yet — be the first to write.