A charcoal smoker can turn an ordinary Saturday into the kind of meal people talk about on Monday. It can also turn a brisket into beef-flavored shoe leather if you chase the temperature every ten minutes. I have done both. After years in restaurant kitchens and plenty of backyard cooks in Kansas City, I have learned that good barbecue depends less on expensive equipment than on steady heat, clean smoke, and a little patience.
The goal is not to build a complicated fire or memorize a dozen internet rules. You need a reliable fuel setup, a thermometer you trust, and enough time to let the meat tell you when it is ready. Low and slow, and do not overthink it.
What makes a charcoal smoker different
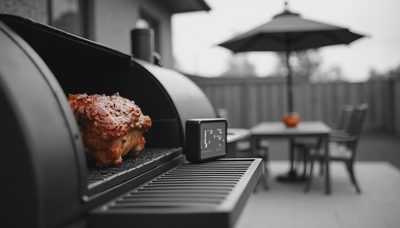
A charcoal smoker separates cooking from direct fire. The coals create heat, while wood chunks add smoke and flavor. Depending on the design, the meat sits above a water pan, diffuser, or empty space that helps moderate the temperature. That indirect heat is what lets a pork shoulder cook for eight or more hours without burning on the outside.
A kettle grill, drum smoker, bullet smoker, ceramic cooker, and offset all use this basic idea in different ways. A Weber Smokey Mountain is compact and forgiving. A Weber kettle costs less and can cook excellent ribs with a two-zone fire. An Oklahoma Joe's offset gives you more room but demands closer attention to airflow and fuel. A ceramic cooker such as a Big Green Egg holds heat extremely well, though its price is not necessary for great barbecue.
The biggest advantage is flavor and control. Charcoal provides a steady heat source, while wood chunks give you smoke that is deeper and cleaner than a pile of burning logs. The tradeoff is that you must manage the fire yourself. A pellet grill handles that task automatically, but learning a charcoal setup teaches you what is actually happening inside the cooker.
Choosing charcoal, wood, and equipment
For most cooks, quality briquettes are the easiest starting point. They burn evenly, cost less than lump charcoal, and make temperature control predictable. Lump charcoal lights quickly and can burn hotter, but its irregular pieces sometimes create temperature swings. I use briquettes for long brisket cooks and lump when I want a hotter fire for chicken or steaks.
Use a chimney starter instead of lighter fluid. A full chimney usually gives you enough lit coals to start a long cook without adding chemical flavor. For wood, begin with two or three fist-sized chunks. Hickory works beautifully with ribs and pork shoulder. Oak is dependable with beef. Apple and cherry provide a milder smoke that suits chicken. Avoid soaking chunks; wet wood spends its energy steaming before it begins to smoke.
You also need a digital dual-probe thermometer. One probe measures the cooking chamber, and the other tracks the meat. Built-in lid thermometers can be off by 25 degrees or more because they measure a different area than the food. A chimney, long-handled tongs, heat-resistant gloves, and a small metal ash tool round out a practical setup.
Building a steady fire
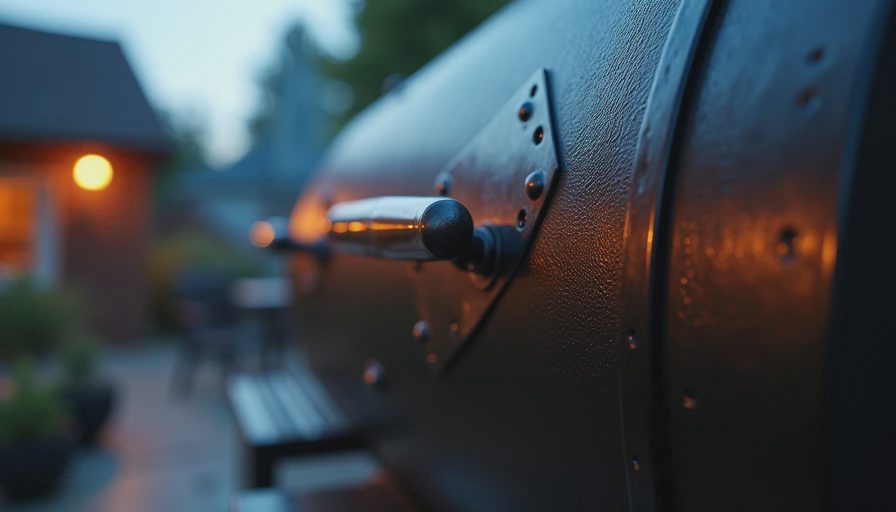
The simplest method for a charcoal smoker is the minion-style setup: place unlit charcoal in the fire area, then add a smaller group of lit coals on top. As the fire slowly spreads, the cooker maintains a moderate temperature for several hours. This works especially well in bullet smokers and kettle grills.
Start with all vents open while the cooker comes up to temperature. Once the chamber reaches roughly 200 to 215 degrees Fahrenheit, begin closing the intake vent in small adjustments. Aim for a cooking temperature around 225 to 275 degrees, depending on the meat and your schedule. Close the vent gradually rather than making a dramatic change. Fire responds slowly, and a correction that looks small can take fifteen minutes to show up.
Smoke should look thin and blue-gray, or almost invisible. Thick white smoke usually means the wood is smoldering because the fire lacks oxygen. That smoke can leave ribs tasting bitter. Give the fire clean airflow, use dry wood, and resist the urge to add another chunk every time the smoke disappears. Meat absorbs plenty of flavor during the early part of the cook.
Temperature control without panic
Temperature control is mostly an airflow problem. The intake vents regulate how much oxygen reaches the coals, while the exhaust vent lets heat and smoke leave the cooker. Keep the exhaust open in most situations. Choking the top vent can trap dirty smoke and make the fire unstable.
Make one adjustment at a time, then wait ten to fifteen minutes. If the temperature rises, close the intake slightly. If it falls, open the intake and check whether ash is blocking the coals. On an offset smoker, add a small amount of charcoal or a split wood log before the fire collapses completely. Rebuilding a dead fire creates more trouble than maintaining a live one.
Wind, cold weather, and opening the lid all affect the cook. A windy afternoon can pull oxygen through the vents and raise the temperature. A cold winter morning can make the cooker burn more fuel. Keep the smoker out of strong wind, use a windbreak made from a safe distance away, and avoid lifting the lid unless you have a real reason. Every peek costs heat and extends the cook.
Cooking brisket, ribs, and chicken
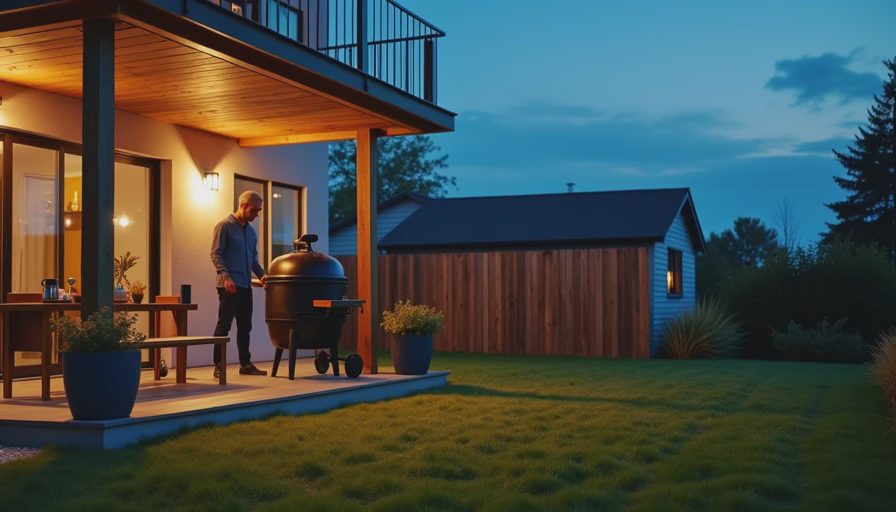
Brisket rewards patience. Trim the thick hard fat, leave a reasonable fat cap, and season it generously with salt and black pepper. Put the thicker side toward the hotter part of the cooker. Cook until the bark is dark and the meat feels flexible when probed. Internal temperature often lands somewhere around 195 to 205 degrees, but tenderness matters more than a number. Rest the brisket for at least an hour in a cooler or warm oven before slicing across the grain.
Ribs are easier to schedule. Baby back ribs often take four to five hours, while St. Louis-style ribs can take five to six at moderate heat. You are looking for meat that bends without falling apart and a toothpick that slides between the bones with little resistance. Sauce during the final twenty to thirty minutes so the sugars do not burn.
Chicken needs a different approach. Low heat can leave the skin rubbery, so cook chicken closer to 300 to 350 degrees when possible. Bone-in pieces are ready when the thickest part reaches 165 degrees, though thighs are often more tender at a higher internal temperature. Let the pieces rest briefly before serving.
Common mistakes and an easier cooking plan
The most common mistake with a charcoal smoker is adding too much fuel too quickly. A small, controlled fire is easier to manage than a blazing one. Another mistake is confusing smoke flavor with smoke volume. More smoke is not better once the meat develops a dark bark and the surface dries.
Before cooking, write down the weather, fuel amount, vent positions, pit temperature, and meat temperature. I keep those notes in a spiral notebook, including every failure. That record helped me discover that my briskets were not “bad cuts”; I was simply opening the lid too often and letting the fire swing wildly.
Plan backward from dinner. A brisket that finishes early can rest for several hours, but a brisket that finishes late will ruin the schedule. Ribs can rest wrapped in foil for thirty to sixty minutes. Chicken should be served soon after resting so the skin stays pleasant. When using a charcoal smoker, build extra time into the plan, keep a simple side dish ready, and focus on tenderness rather than a rigid clock.
Is a charcoal smoker right for you?
Choose this style if you enjoy hands-on cooking and want to understand your fire. It is a strong choice for someone who wants competition-style bark without spending thousands of dollars. A basic kettle and a thermometer can produce excellent results, while a dedicated drum or bullet smoker makes long cooks easier.
Choose another option if you need dinner ready at a precise time with almost no supervision. A pellet grill is more automated, and a gas grill is faster for weeknight meals. Still, learning a charcoal smoker gives you useful skills that transfer to nearly any cooker: control the heat, use clean smoke, protect the meat from direct flame, and trust the finish more than the timer.
That is the whole game. Start with ribs or chicken before attempting a full brisket, keep the fire modest, and change one thing at a time. Your first cook does not need to be perfect. It only needs to teach you what the next one should do better.
No letters yet — be the first to write.