A smoked chuck roast is the answer when you want brisket-style barbecue without spending brisket money or babysitting a giant cut all day. Chuck roast has plenty of beefy flavor, enough internal fat to stay juicy, and a forgiving shape that works on an offset smoker, pellet grill, kettle, or even a basic electric smoker. I have cooked this cut for family dinners, practice runs, and more than one football Saturday. The trick is simple: low and slow, and don't overthink it.
Choosing and seasoning the roast
Look for a boneless chuck roast weighing between 3 and 5 pounds. A roast with visible marbling throughout will usually finish more tender than a very lean piece. I trim away thick, hard pieces of surface fat, but I do not carve the roast into a perfect shape. That fat will not all melt, but the marbling helps protect the meat during a long cook.
For seasoning, start with a straightforward blend of kosher salt, coarse black pepper, and paprika. My everyday ratio is two parts pepper, one part salt, and one part paprika, with a little garlic powder if I am cooking for the family. Coat every side generously. The surface should look seasoned, not buried under a salty crust.
You can season a smoked chuck roast 30 minutes before it goes on the pit, or refrigerate it overnight. Overnight seasoning gives the salt more time to work into the outer layer, but it is not required for a good dinner. A thin coat of yellow mustard can help the rub stick, though it will not make the finished beef taste like mustard.
Setting up the smoker
Set the smoker between 225 and 250 degrees Fahrenheit. That range is warm enough to render fat gradually and low enough to build smoke flavor without drying the outside. On my offset smoker, I use small splits of oak or hickory and focus on a clean, light smoke. Heavy white smoke can leave the roast tasting bitter, so do not throw wet wood or a giant log onto a struggling fire.
For a pellet grill, oak, hickory, or a beef-focused blend all work well. A kettle grill can handle the job with charcoal banked on one side and a few wood chunks placed over the coals. You do not need a $3,000 rig. You need steady heat, a reliable probe thermometer, and enough fuel to finish the cook.
Place the roast away from direct heat, with the thicker side facing the hotter part of the cooker. Insert a temperature probe into the center, avoiding large pockets of fat. Keep the lid closed as much as possible. Every peek costs heat, and the meat will not cook faster because you are worried about it.
Smoke until the bark is ready
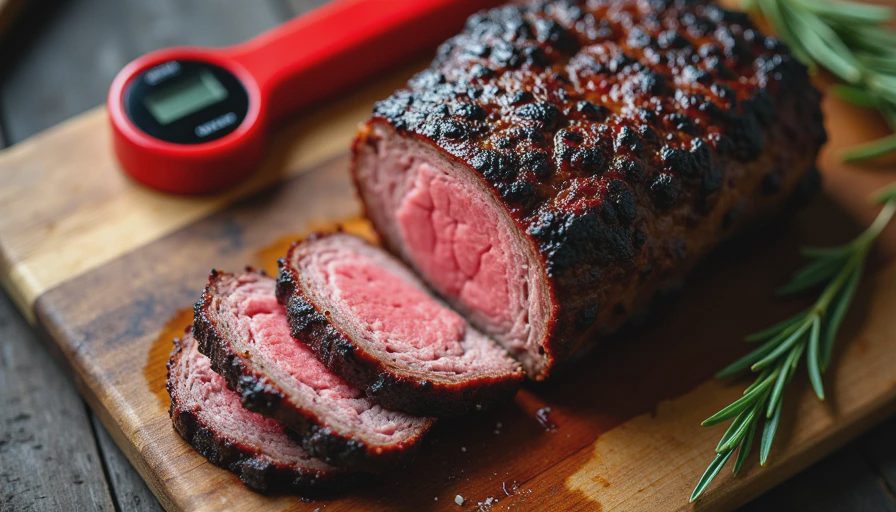
The first stage of a smoked chuck roast is about building bark and smoke flavor, not chasing a specific internal temperature. Depending on the roast and your pit, the outside may turn a deep mahogany color after four to six hours. The internal temperature often reaches 155 to 170 degrees during this stage, then appears to stop climbing. That slowdown is called the stall, and it happens as moisture evaporates from the surface.
When the bark looks dark, dry, and set, you have two good options. Leave the roast unwrapped for a firmer bark, or wrap it to speed the cook and retain moisture. I usually wrap in unwaxed butcher paper when the bark is where I want it. Heavy-duty aluminum foil works too, but it can soften the crust and produce a more pot-roast-like exterior.
Before wrapping, add two or three tablespoons of beef broth, Worcestershire sauce, or melted beef tallow if you want extra richness. Do not pour in a cup of liquid. Too much turns the smoker into a braising setup and washes away the bark you worked to build.
Knowing when it is tender
A smoked chuck roast is ready when it feels tender, not merely when it hits a number. Start checking around 195 degrees internal temperature. Slide a thin probe or instant-read thermometer into several parts of the roast. It should enter with very little resistance, similar to pushing into softened butter. Some roasts finish at 198 degrees, while others need to reach 205 or even 210.
That temperature range is useful, but it is not a finish line. Connective tissue needs time and heat to break down. If the probe still meets tight resistance, close the smoker and keep cooking. Pulling the roast early because the thermometer says 200 degrees is one of the easiest ways to end up with chewy beef.
For a smoked chuck roast you plan to shred, cook until it pulls apart easily with a fork. For slices, stop when the center is tender but still holds together. I prefer slicing when serving it with potatoes and vegetables, then shredding leftovers for sandwiches or tacos.
Resting, slicing, and serving
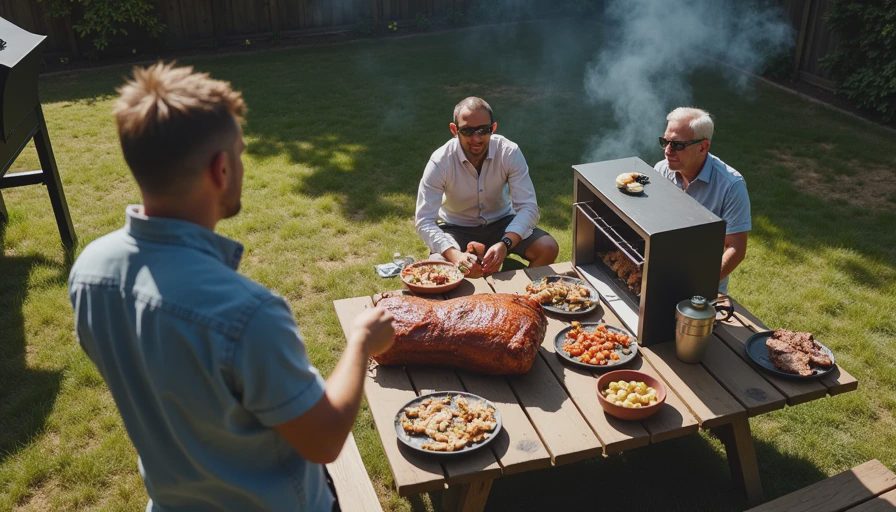
Rest the finished roast for at least 45 minutes, preferably wrapped loosely in butcher paper and placed in an empty cooler or turned-off oven. A long rest lets the juices settle and gives the connective tissue time to relax. If you slice immediately, much of that flavorful liquid ends up on the cutting board instead of in the meat.
Once rested, separate the roast along its natural seams if it has multiple muscles. Slice across the grain into pieces about a quarter-inch thick. If the meat is tender enough to fall apart, skip the knife and pull it into chunky strands. Toss the pieces with a little of the collected juice before serving.
Serve a smoked chuck roast with vinegar slaw, baked beans, pickles, or plain white bread. In my house, Kate usually adds roasted vegetables, while Colt and Sadie reach for barbecue sauce. I keep sauce on the side because a properly seasoned roast should taste good before anything is added.
Common mistakes that ruin the cook
The most common problem is running the pit too hot. Cooking at 325 degrees can finish the roast faster, but the outside may dry before the center softens. Another mistake is wrapping before the bark develops. That traps steam early and leaves you with gray, soft meat instead of a dark, flavorful crust.
Do not baste every hour. Opening the lid repeatedly extends the cooking time and gives you little benefit. Do not rely on time alone, either. A 4-pound roast might finish in seven hours on one day and nine hours on another because of wind, starting temperature, marbling, or pit behavior.
If your smoked chuck roast is tough, it usually needed more time rather than more seasoning. Put it back on the cooker and check it again after 30 minutes. If it is dry, slice it thin and serve it with warm broth or sauce, then adjust your next cook by wrapping slightly earlier.
A simple cook-day schedule
For dinner at 6 p.m., put the roast on around 7 a.m. This gives you time for the smoke stage, the wrap, and a proper rest without racing the clock. Season it the night before, light the cooker while making coffee, and let the smoker settle before adding the beef.
Around noon, inspect the bark and internal temperature. Wrap when the color looks right, not just because the thermometer reaches a certain number. Begin checking tenderness around 3 p.m. If the roast finishes early, keep it wrapped and rest it in a cooler for up to a couple of hours. Early barbecue is much easier to manage than late barbecue.
Write down the pit temperature, wood, wrap time, and finish temperature in a notebook. That habit has saved me from repeating the same mistake more than once. Make this smoked chuck roast your baseline, then change one thing at a time. Low and slow, and don't overthink it.


No letters yet — be the first to write.