A backyard barbecue does not require a $3,000 offset smoker, a custom-built patio, or a Saturday spent watching twelve videos about airflow. It requires steady heat, decent meat, and enough patience to let the cooker do its job. I learned that after burning more briskets than I care to admit, including one that looked perfect outside and ate like a boot inside. Low and slow, and don't overthink it.
The goal here is simple: cook food your family actually wants to eat on the grill, pellet smoker, kettle, or beat-up offset already sitting in the garage. You will learn how to control temperature, choose cuts that forgive mistakes, and plan a backyard barbecue without turning dinner into a full-day emergency.
Start with fire management, not fancy equipment
Most barbecue problems are really heat problems. A cooker running at 225 to 275 degrees Fahrenheit can make excellent ribs, pork shoulder, chicken, and brisket. The exact number matters less than avoiding wild swings. If your smoker bounces from 200 to 350 every twenty minutes, the meat will spend more time drying out than developing good bark.
On an offset smoker, use a small, clean fire instead of choking down a giant log. Thin blue smoke is a useful visual clue; thick white smoke often means the fire is smoldering. On a kettle grill, bank charcoal to one side and place the meat away from the coals. A pellet grill gives you the easiest temperature control, but it still benefits from a clean cooking grate and an occasional check of the pellet hopper.
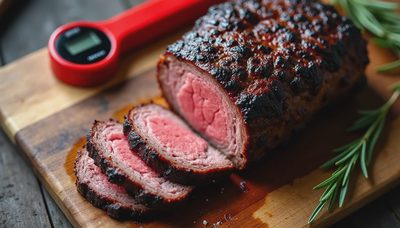
Use a reliable probe thermometer at grate level. The dial on the lid can read 40 or 50 degrees differently from the cooking surface, especially in cold weather. Before your next backyard barbecue, place the probe near the meat, not directly over the fire. That one small adjustment can save an entire cook.
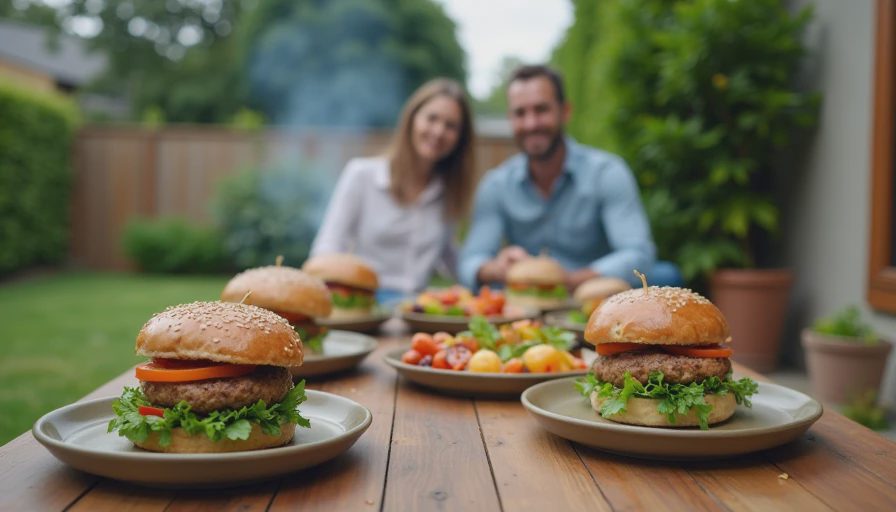
Choose forgiving meats before chasing brisket
If this is your first serious cook, start with pork shoulder or spare ribs. Pork shoulder is especially friendly because its fat and connective tissue give you a wider window between undercooked and dry. Season it with kosher salt, coarse black pepper, and paprika, or use a store-bought rub you already like. Put it on the smoker cold from the refrigerator, then cook until it feels tender when probed. That may happen around 195 to 205 degrees, but tenderness matters more than the number.
Ribs need more attention because they have less fat and can dry out. Cook them bone-side down, spritz only when the surface looks dry, and begin checking tenderness after several hours. A toothpick should slide between the bones with little resistance. Wrapping ribs in foil can speed the cook, but it also softens the bark. I usually leave them unwrapped unless dinner has a hard deadline.
Chicken thighs are another smart choice for a weeknight backyard barbecue. They stay juicy through a longer cook and taste good with almost any sauce. Cook poultry to at least 165 degrees in the thickest part, then let it rest briefly before serving.
Build bark without burning the outside
Bark is the dark, flavorful surface formed by seasoning, smoke, rendered fat, and heat. You do not need a complicated binder or a cabinet full of specialty powders. A light coat of yellow mustard helps rub stick, but it will not make the finished meat taste like mustard. Salt needs time to work into the meat, so season a large roast several hours ahead when possible.
Keep the cooker closed during the early part of the cook. Every lid lift releases heat and extends the process. When the meat reaches a deep color and the surface feels dry rather than wet, you can wrap it in unwaxed butcher paper or foil. Paper preserves more bark; foil holds in more moisture and can soften the exterior.
Sauce belongs near the finish, not at the beginning. Sugars in many barbecue sauces can burn over several hours. Brush on sauce during the final 15 to 30 minutes, or serve it at the table so everyone can choose. That approach works particularly well when kids want sweet sauce and adults want more pepper and smoke.
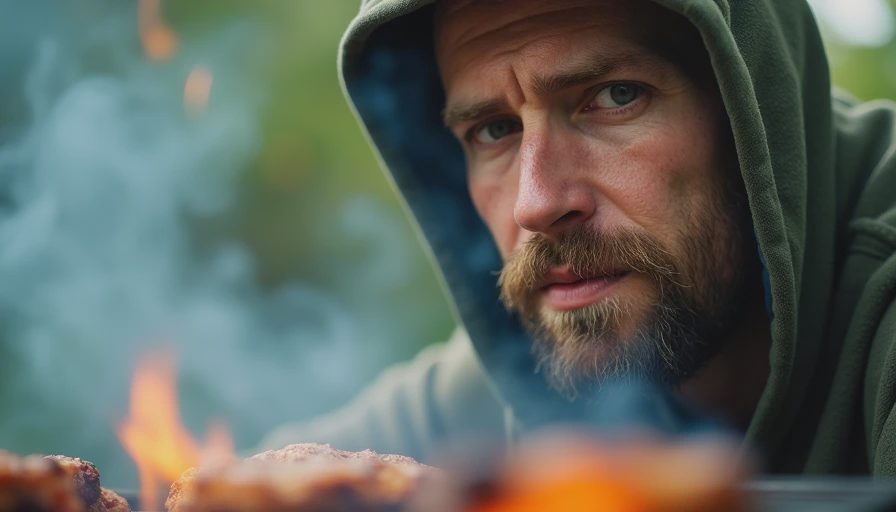
Plan the cook backward from dinner
The best backyard barbecue schedule starts with serving time, then works backward. If you want to eat at 5 p.m., aim for the meat to finish early. A pork shoulder that finishes at 1 p.m. is not a disaster; one that finishes at 4:55 p.m. is. Wrapped meat can rest in a dry cooler with clean towels for several hours while you finish side dishes.
Give yourself extra time because meat does not follow a clock. A brisket can stall when moisture evaporates from its surface, sometimes sitting at nearly the same internal temperature for hours. Do not panic and keep raising the heat. Wrap it if the bark looks right, continue cooking, and test it with a probe for tenderness. When the probe slides into the flat with very little resistance, pull it and rest it before slicing.
Make sides ahead of time. Beans, slaw, potato salad, and cornbread can all be ready before the meat finishes. I learned this after serving ribs to my family while standing over a sink trying to make coleslaw. The barbecue was good; the timing was not.
Make the meal easier on your actual backyard
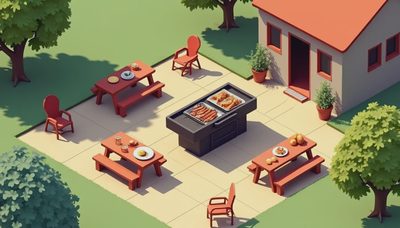
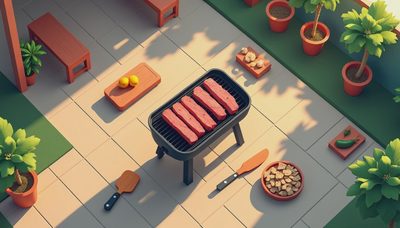
A great backyard barbecue setup can be as simple as a kettle grill, a chimney starter, a pair of heat-resistant gloves, a drip pan, and a two-probe thermometer. Buy a chimney before buying another accessory. It lights charcoal quickly without lighter-fluid flavor and costs far less than most electronic gadgets.
Keep one clean table near the cooker for trays, gloves, and tools. Keep raw meat, cooked meat, and cutting boards separated. Wash hands after handling raw poultry, and refrigerate leftovers within two hours, sooner if the outdoor temperature is very hot. These habits are not glamorous, but they keep a relaxed cook from becoming a sick day.
For fuel, use ordinary charcoal and a small amount of dry hardwood if your cooker allows it. Hickory gives pork a strong traditional flavor, while apple or cherry smoke is gentler on chicken. Do not combine every wood in the shed. One species is usually enough to make the food taste smoky without covering up the meat.
A simple first-cook game plan
For a dependable first backyard barbecue, buy a six- to eight-pound pork shoulder, season it the night before, and set up your cooker for 250 degrees. Put the roast on with the fat side positioned according to your cooker’s heat source, then leave the lid closed for at least two hours. Check the temperature and bark occasionally, not constantly. If the surface dries, spritz with water or diluted apple juice.
When the roast reaches the 160s and the bark looks dark, wrap it if you want a shorter cook. Continue until it feels probe-tender, then rest it for at least 45 minutes. Pull or slice it, taste before adding sauce, and save the cooking juices if they are not overly salty. Serve with buns, pickles, slaw, and beans. That is a complete meal without a competition trailer.
Write down the weather, cooker temperature, meat weight, start time, wrap time, and finish time. My spiral notebook has plenty of mistakes in it, but it also tells me what to change next time. That is how you get better: one cook, one useful note, and one less burned brisket.
Backyard barbecue gets much easier when you stop trying to impress the internet and start paying attention to your fire and your food. Use the equipment you have, leave room in the schedule, and trust tenderness over a rigid timetable. Low and slow, and don't overthink it.

No letters yet — be the first to write.