A good rib rub recipe should make ribs taste better, not turn your kitchen into a spice laboratory. This one uses ordinary pantry ingredients, delivers a balanced Kansas City-style flavor, and works on a pellet grill, offset smoker, kettle, or even a gas grill with a smoke box. You get sweetness up front, mild heat in the middle, and enough savory seasoning to keep the pork from tasting like candy.
I have tested this blend on spare ribs, baby backs, and country-style ribs. I have also accidentally doubled the cayenne while trying to cook three racks before a family birthday party. The ribs were still edible, but Colt needed a glass of milk after every bite. Start with the measured amounts below, then adjust after you understand the base flavor. Low and slow, and do not overthink it.
The rib rub recipe
For about two cups of rub, combine 1 cup packed light brown sugar, 1/2 cup paprika, 3 tablespoons kosher salt, 2 tablespoons coarse black pepper, 2 tablespoons garlic powder, 2 tablespoons onion powder, 1 tablespoon chili powder, 2 teaspoons mustard powder, 1 teaspoon cayenne pepper, and 1 teaspoon ground cumin.
Whisk everything in a bowl until the color looks even. Break up brown sugar clumps with the back of a spoon. If you use table salt instead of kosher salt, cut the salt amount roughly in half because the smaller crystals pack more densely into a spoon. That small swap is one of the easiest ways to make a rib rub recipe taste aggressively salty.
The sugar helps create a dark, attractive bark and rounds off the smoke. Paprika provides color and a gentle pepper flavor, while garlic, onion, and mustard give the meat a savory backbone. Cumin is optional, but I like the warm note it adds to pork. Cayenne brings heat without making the whole batch taste hot. For children or heat-sensitive guests, leave it out and put hot sauce on the table.
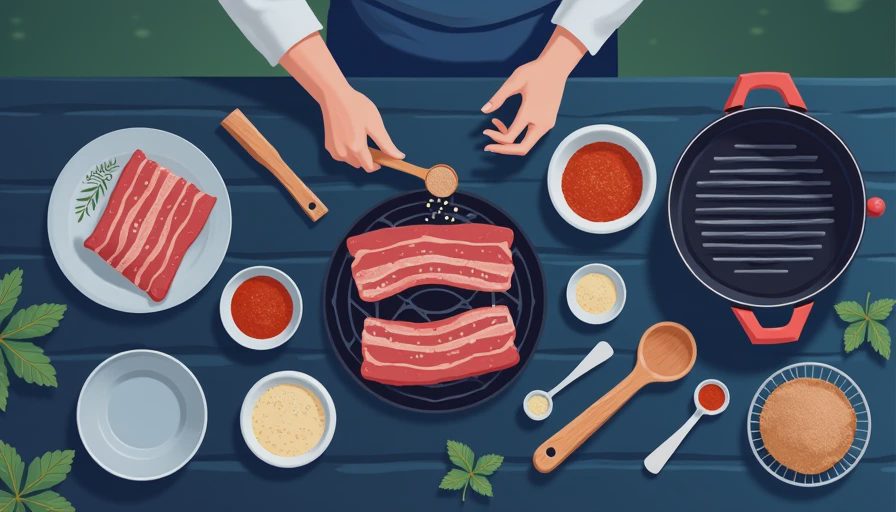
How to apply the seasoning
Start with cold ribs and pat them dry with paper towels. Remove the membrane from the bone side if it is still attached. Slide a butter knife under one corner, grab the loosened membrane with a paper towel, and pull slowly. If it tears, grab another section and keep going. Removing it allows the seasoning to contact the meat and makes the finished rack easier to bite.
Use a thin coat of yellow mustard as a binder if you like. You will not taste mustard after the cook; it simply helps the spices stay put. A rack of ribs usually needs about 3 to 4 tablespoons of the rib rub recipe, depending on its size and how heavily seasoned you prefer the bark. Sprinkle from several inches above the meat instead of dumping a pile in one place. Then press the seasoning gently into the surface.
Season the bone side first, followed by the meat side and the edges. Let the ribs sit for 20 to 30 minutes while the cooker comes up to temperature. For an overnight rest, place them on a tray, cover them, and refrigerate. The salt will move into the outer meat, but the surface can become wet. Pat away excess moisture before cooking and add a light final dusting.
Cooking ribs with this rub
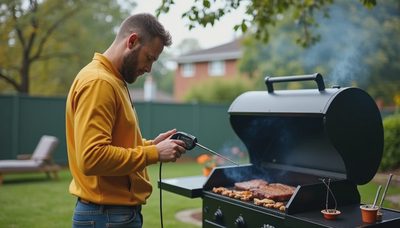
Run the cooker between 250 and 275 degrees Fahrenheit. I prefer 250 degrees when I have time and 275 degrees when dinner has a deadline. The exact temperature matters less than steady heat and tender ribs. Use a reliable probe at grate level, because the thermometer mounted in a smoker lid can read quite differently from the cooking surface.
For spare ribs, plan on roughly five to six hours. Baby backs often finish in four to five hours, though thickness matters more than the label. Do not cook strictly by the clock. When the meat has pulled back from the bones, the rack bends easily when lifted with tongs, and a probe slides between the bones with little resistance, start checking for tenderness.
The sugar in this rib rub recipe can darken quickly above 300 degrees, especially over direct heat. If the outside looks nearly black before the meat is tender, wrap the rack in foil or butcher paper and continue cooking. This is not a failure. It is a practical correction, the same kind I make when a windy afternoon changes the fire in my offset smoker.
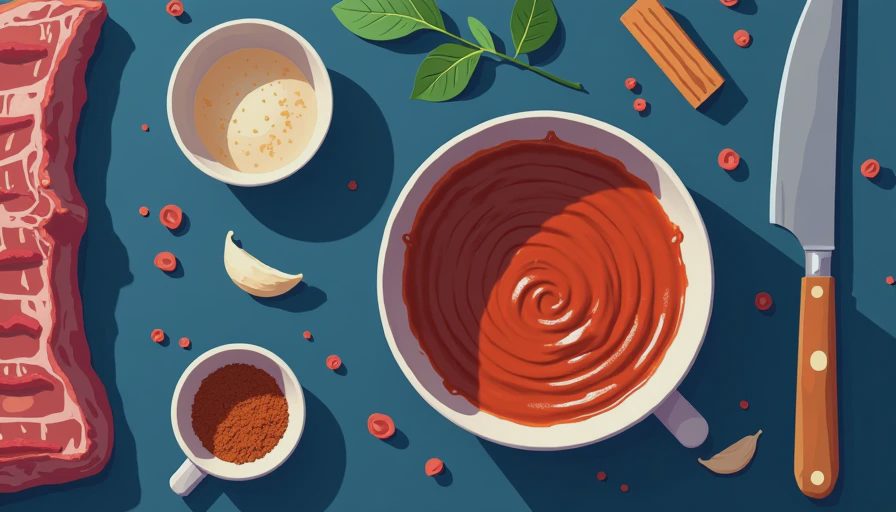
Wrapping, saucing, and resting
Wrapping is optional. Unwrapped ribs develop a firmer bark and stronger smoke flavor, while wrapped ribs usually become tender sooner and stay more moist. If you wrap, add a small splash of apple juice or cider vinegar, but do not drown the rack. Two or three tablespoons is plenty. Too much liquid washes away the bark you worked to build.
I usually sauce during the last 20 to 30 minutes. Brush on a thin layer, let it set, then add another if you want a stickier finish. A sweet Kansas City sauce pairs naturally with this rib rub recipe, but a tangy vinegar sauce also works because the sugar in the seasoning provides balance. The goal is a glossy coating, not a thick layer that hides the meat.
Rest the finished ribs for 10 to 15 minutes before slicing. Cut between the bones with a sharp knife and serve immediately. If the rack falls apart when you pick it up, it is still delicious, but it has gone past the competition-style bite I prefer. Tender does not have to mean shredded.
Easy adjustments for your family
For a less sweet blend, replace half the brown sugar with another 1/4 cup of paprika. For deeper heat, add 1 teaspoon of chipotle powder or increase the cayenne by 1/2 teaspoon at a time. For a more pepper-forward profile, add another tablespoon of coarse black pepper. I would not increase the salt until after you have tasted a cooked rack, because the smoke, sauce, and pork all change the final impression.
Store the finished rib rub recipe in an airtight jar in a cool pantry. Label it with the date and shake before each use. The spices will not spoil quickly when kept dry, but the aroma fades over time, so I make a fresh batch every two or three months. The recipe also works on chicken thighs, pork shoulder, roasted potatoes, and grilled corn.
A simple rib-day plan
The night before, trim the ribs, remove the membrane, and season them. In the morning, light the cooker and stabilize it at 250 to 275 degrees. Put the ribs on bone side down, spritz only if the surface looks dry, and avoid opening the lid every fifteen minutes. Around the four-hour mark, check color and flexibility. Wrap only if the bark is dark enough and the ribs still feel tight.
Start checking baby backs around four hours and spare ribs around five. Sauce near the finish, then rest before slicing. If guests are late, hold wrapped ribs in an empty cooler for up to an hour, using a towel around the package and checking that they remain safely hot. That schedule gives you room for real life, which is more useful than pretending every rack cooks exactly the same.
Make this rib rub recipe once as written before changing it. After that, adjust the heat, sweetness, or pepper to fit your table. You do not need a $3,000 smoker or a shelf full of specialty powders. Good ribs come from balanced seasoning, steady heat, and patience. Low and slow, and do not overthink it.


No letters yet — be the first to write.