A good dry rub for ribs does more than add a red coating. It seasons the meat, helps build a dark bark, and gives every bite a balance of sweet, salty, savory, and smoky flavor. You do not need a cabinet full of competition secrets or a $3,000 smoker. With a few grocery-store spices and a little patience, your backyard ribs can taste like something worth waiting for. Low and slow, and don't overthink it.
What makes a dry rub work
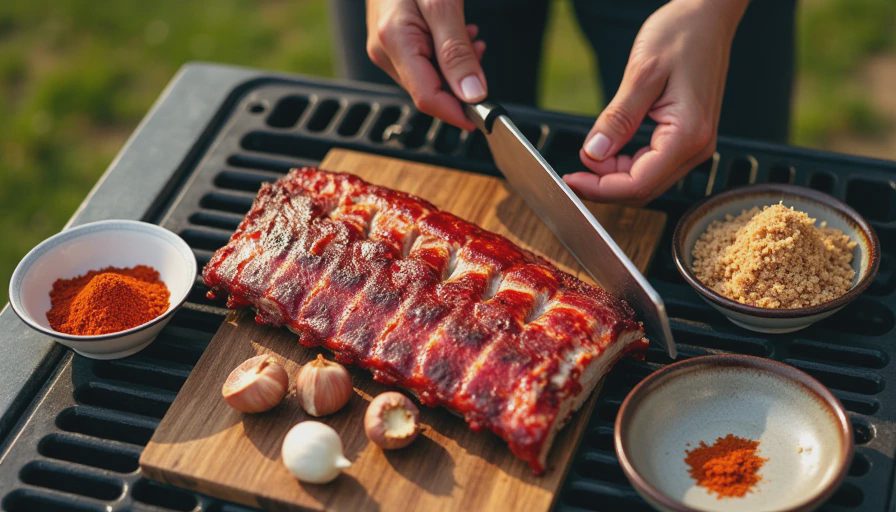
The foundation of a dry rub for ribs is salt. Salt moves into the meat and makes the pork taste more seasoned all the way through, not just on the surface. Brown sugar brings sweetness and helps the outside brown, while paprika supplies color and a mild pepper flavor. Black pepper, garlic powder, onion powder, and chili powder fill in the savory edges.
My dependable starting blend is 1/4 cup light brown sugar, 2 tablespoons paprika, 1 tablespoon kosher salt, 1 tablespoon coarse black pepper, 2 teaspoons garlic powder, 2 teaspoons onion powder, and 1 teaspoon chili powder. This dry rub for ribs is sweet enough for kids but not so sugary that it burns during a long cook. If your family likes heat, add 1/2 teaspoon cayenne or a teaspoon of chipotle powder.
Use kosher salt rather than measuring an equal volume of table salt. Table salt crystals are smaller and pack more tightly into a spoon, which can make the finished ribs noticeably saltier. If table salt is all you have, use about half as much and taste the blend before applying it.
How to apply the rub without wasting flavor
Start with a rack of baby back ribs or St. Louis-style spare ribs. Pat the meat dry with paper towels. Moisture on the surface turns the rub into a paste immediately, while a dry surface gives the spices a better chance to cling and form bark.
Turn the ribs bone-side up and remove the thin membrane if it is still attached. Slide a butter knife under one corner, grab the loosened section with a paper towel, and pull slowly. If the membrane tears, grab another corner and continue. Leaving it on will not ruin dinner, but it can make the underside chewy and block seasoning from reaching the meat.
A thin coat of yellow mustard is optional. It does not make the ribs taste like mustard; the vinegar and moisture simply help the seasoning stick. I use roughly 1 tablespoon per rack, spread into a very thin film. Olive oil also works, but do not pour on enough to make the surface greasy.
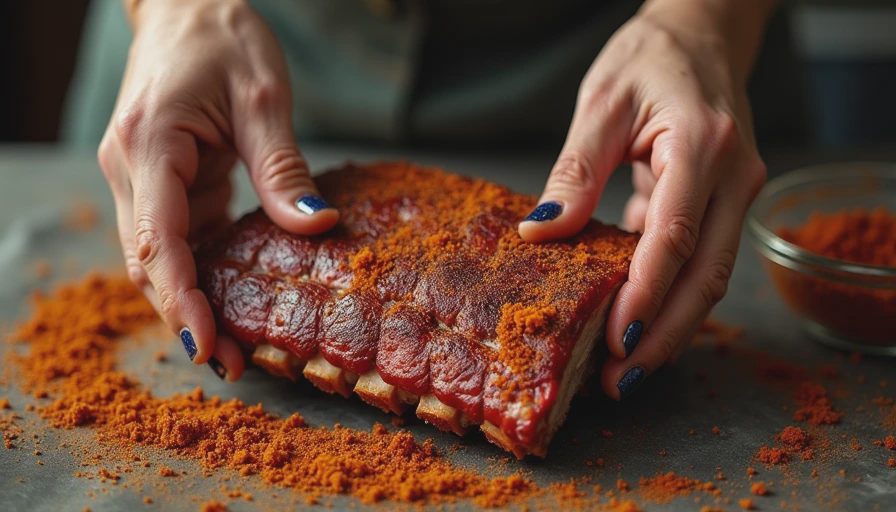
Sprinkle the dry rub for ribs from about 8 inches above the meat so it lands evenly. Use roughly 1 tablespoon per pound, then press it gently into place. Do not massage aggressively. A heavy-handed rub can create bare spots and smear the seasonings into clumps.
Choosing the right flavor profile
For classic Kansas City-style ribs, lean into brown sugar, paprika, black pepper, and a modest amount of chili powder. That profile works especially well with a thin layer of barbecue sauce brushed on near the end. A sweeter rub is also useful when serving ribs to children, because it softens the sharper flavor of smoke.
For a pepper-forward rack, reduce the brown sugar to 2 tablespoons and increase black pepper to 2 tablespoons. Add 1 teaspoon of ground mustard for a gentle tang. This version stands up well to hickory smoke and does not need much sauce.
For heat, keep the basic blend intact and add cayenne gradually. A quarter teaspoon gives a background tingle; 1 teaspoon makes the heat obvious across a full batch. Taste the dry rub for ribs before it touches the meat. You can adjust a bowl of seasoning easily, but you cannot remove cayenne from a rack of ribs.
Avoid adding liquid smoke to the seasoning. It can taste harsh when concentrated, especially on a long cook. Real wood chunks, pellets, or charcoal provide a cleaner smoke flavor, and your grill setup matters more than a fancy spice bottle.
Smoking ribs with the rub
Set your smoker or grill for about 250 degrees Fahrenheit. That temperature is forgiving and gives the connective tissue time to soften without turning the outside into leather. Apple and cherry wood create a mild, slightly sweet smoke. Hickory brings a stronger barbecue flavor, so use it carefully if your cooker already runs smoky.
Place the ribs bone-side down and leave them alone for the first couple of hours. Opening the lid every 20 minutes costs heat and extends the cook. After about three hours, look for a darkened bark and edges that have pulled back slightly from the bones. These signs are more useful than watching the clock alone.
Most racks take about five to six hours, but thickness and cooker temperature change the schedule. When the ribs bend easily and the meat has pulled back, check tenderness with a toothpick or probe between the bones. It should slide in with little resistance. A dry rub for ribs cannot rescue meat that is undercooked or dried out, so use texture as your final test.
If the surface darkens too quickly, wrap the ribs in foil with a small splash of apple juice. Wrapping is a tool, not a requirement. It speeds tenderizing but softens bark, so unwrap the rack for the final 20 to 30 minutes if you want the outside to firm again.
Sauce, resting, and serving
Sauce belongs near the finish, not at the beginning. Sugar-heavy barbecue sauce can burn during a five-hour smoke, leaving a bitter coating over otherwise good pork. Brush on a thin layer during the final 15 to 30 minutes, then let it set with the lid closed.
Move the ribs to a cutting board and rest them for 10 to 15 minutes. Resting gives hot juices time to settle and makes the rack easier to slice. Cut between the bones with a sharp knife. If you are serving a crowd, two bones per person is a practical starting point, with extra sides for bigger appetites.
A dry rub for ribs should leave you with a flavorful crust that does not require sauce to hide it. Serve the finished rack with slaw, baked beans, corn, or simple bread. The contrast between rich pork and bright, crunchy sides makes the meal feel complete without adding another complicated recipe.
Common rub mistakes I see at home
The first mistake is using too much salt. A thick layer of seasoning is not automatically better, especially when the ribs are seasoned several hours before cooking. The second is skipping the taste test. Mix the spices, taste a pinch, and adjust sweetness, pepper, or heat before applying it.
Another problem is storing the blend beside the stove. Steam and heat make brown sugar clump and weaken the aroma of spices. Keep unused dry rub for ribs in a sealed jar in a cool cabinet, and label it with the date. For the best flavor, use it within a few months rather than letting it disappear behind the flour.
Finally, do not chase a perfect clock time. I have had ribs finish early on a mild Kansas City afternoon and run late during a cold, windy cook. Build in a little cushion, keep the cooker steady, and judge the meat by tenderness. That is the method that works on an offset, pellet grill, kettle, or even a basic gas grill with a smoker box.
Make this dry rub for ribs once, write down what you changed, and keep notes in the same spiral notebook as your cook temperatures. Next time, you will know whether the rack needed more pepper, less salt, or simply another half-hour. Good barbecue is mostly repetition: low and slow, and don't overthink it.

No letters yet — be the first to write.