If you have ever watched a brisket climb to 150 degrees, stop moving, and sit there for hours, you have met the stall brisket problem. It is not a broken thermometer, a bad smoker, or a sign that dinner is ruined. It is evaporative cooling doing its thing, much like sweat cooling your skin on a hot day. Once you understand that, the stall brisket becomes a timing issue instead of a backyard barbecue emergency.
I learned this the hard way during one of my first serious brisket cooks. I kept adding charcoal because the internal temperature had barely changed for two hours. By the time the brisket finally pushed through, my offset was running too hot and the flat was drier than a campfire biscuit. The fix was not more heat. It was controlling the pit, deciding when to wrap, and planning for the rest.
What the brisket stall actually is
A brisket usually begins stalling somewhere around 150 to 170 degrees Fahrenheit, although every piece of meat behaves a little differently. The surface gets wet as moisture moves toward the outside. That moisture evaporates, and evaporation pulls heat away from the brisket. The smoker keeps supplying heat, but much of that energy is being spent drying the surface rather than raising the center temperature.
That is why the stall can last two, four, or even more hours. A large brisket, a dry cooking environment, heavy airflow, and a wide exposed surface can all stretch out the process. A small brisket in a humid pellet grill may move through faster. Neither situation means the cook is automatically going well or badly.
The important point is that the stall brisket is still cooking. Collagen is slowly softening, fat is rendering, and smoke is building on the bark. Do not start poking it every 15 minutes. Each lid opening dumps heat and extends the cook.
The best pit temperature for getting through the stall
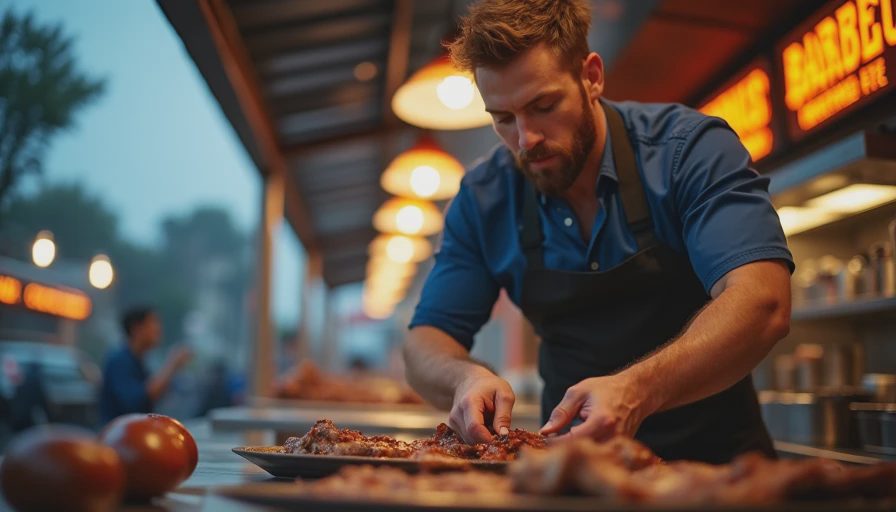
For a backyard brisket, I generally run the smoker between 250 and 275 degrees. That range gives the meat enough heat to cook steadily without forcing the outside to burn before the connective tissue has relaxed. Cooking at 225 degrees can work, but it often creates a longer overnight cook and gives the stall more time to test your patience.
Your equipment matters less than your consistency. On a pellet grill, keep the hopper full and avoid opening the lid. On a kettle, use a two-zone fire and adjust the vents in small steps. On an offset, build a clean fire with small splits rather than choking the fire until the smoke turns thick and gray. I have cooked good brisket on all three, including one borrowed barrel smoker with a door that rattled in the wind.
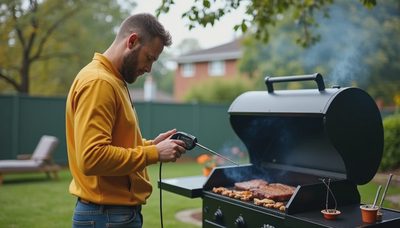
Use a reliable probe at the thickest part of the flat, not in a fat pocket. Watch the pit temperature with a second probe near the cooking grate. If the grate is actually running 25 degrees cooler than the lid thermometer suggests, you can spend hours chasing the wrong number.
When to wrap the stall brisket
Wrapping is the simplest way to reduce evaporative cooling. Once the bark is dark, dry to the touch, and no longer wiping off when you brush it lightly, you can wrap the brisket. Temperature is a useful clue, but bark should make the final call. That often happens around 165 to 175 degrees.
Butcher paper is my usual choice. It helps push the stall along while allowing some steam to escape, so the bark remains firmer. Heavy-duty aluminum foil works faster and traps more moisture, but it can soften the bark and make the exterior pot-roast-like. If you are behind schedule for a family dinner, foil is a perfectly legitimate tool. Barbecue is dinner, not a moral examination.
Set the brisket on a large sheet of paper or foil, place it presentation-side up, and wrap it tightly enough that air gaps are limited. Return it to the smoker with the seam facing down. If the stall brisket has a thin flat, add a small splash of beef broth or rendered tallow before sealing, but do not flood the package. A few tablespoons are enough.
How to know when it is done
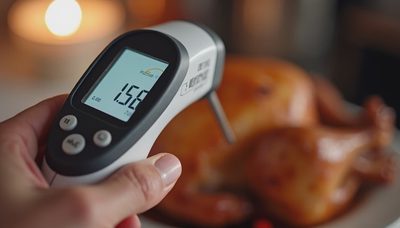
Temperature tells you when to start checking, not when to pull. Begin probing the flat once it reaches roughly 195 degrees. Slide a thin instant-read probe through the paper into several spots. You are looking for very little resistance, similar to pushing into softened butter. One section may feel ready at 198 while another needs to reach 205 or higher.
The point and flat do not finish at exactly the same time. The point contains more fat and is usually more forgiving. The flat is leaner, so it is the part that deserves your attention. If the probe still meets a tight, rubbery push, keep cooking. If the meat feels loose and tender, pull it even if the number is lower than recipes you have memorized.
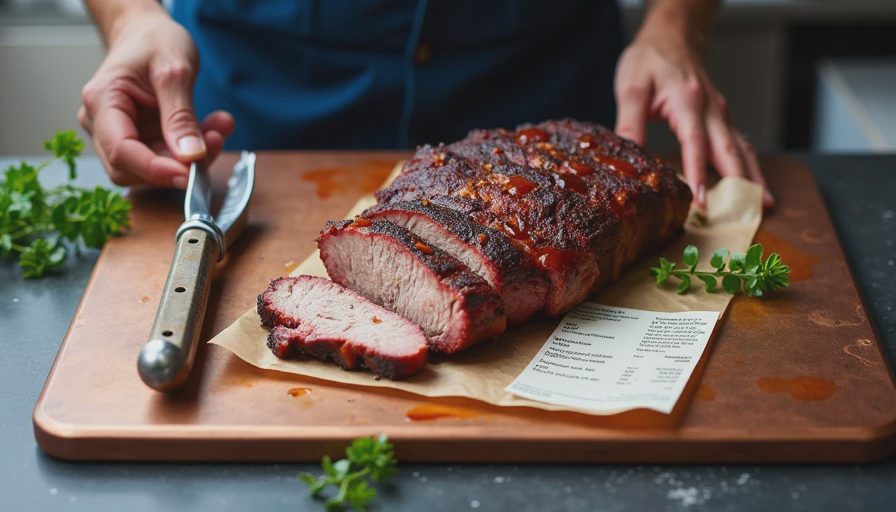
Do not slice immediately. Let the brisket rest, still wrapped, for at least one hour. Two hours in a dry cooler or an unheated oven is often even better. The rest lets juices settle and allows carryover cooking to finish the last bit of connective tissue. A stall brisket that is cooked correctly but sliced hot can still seem dry because the juices run across the cutting board instead of staying in the slices.
A realistic brisket schedule
For a 12- to 14-pound packer brisket, I plan backward from the meal rather than guessing forward from the start time. If dinner is at 5:00 p.m., I want the brisket ready to rest by about 1:00 p.m. That gives me room for a long stall, a stubborn flat, and a proper rest. I might put it on between 8:00 and 10:00 p.m. the night before at 250 degrees.
The first several hours are mostly about building bark and maintaining clean smoke. Around dawn, I check the bark and decide whether to wrap. After wrapping, I raise the pit toward 275 if I need to protect the schedule. Once tender, the brisket goes into a cooler lined with a towel. Keep the package sealed, and use a clean towel that you do not mind smelling like smoke for a week.
If it finishes early, that is a good problem. A wrapped brisket can rest for several hours while staying hot, but do not use a cooler as a substitute for safe food handling. If it has cooled substantially, refrigerate leftovers promptly and reheat them gently with a little broth or tallow.
Common mistakes that make the stall worse
The first mistake is chasing the internal temperature. A two-degree drop is normal when the probe shifts or evaporation increases. The second is raising the smoker to 350 degrees because the brisket has stalled. That can scorch the bark and dry the flat before the collagen has finished breaking down. Make moderate adjustments instead.
The third mistake is wrapping before the bark is ready. The paper cannot create a deep, flavorful crust after the brisket is sealed. The fourth is slicing with the grain. Separate the point from the flat if needed, then cut the flat across the grain into pencil-thick slices. If a slice bends without breaking and still glistens slightly, you are in good shape.
Finally, write down what happened. I keep a spiral notebook with the date, weather, wood, pit temperature, wrap time, finish temperature, and resting time. After three or four cooks, patterns become obvious. You will learn whether your smoker runs cool overnight and whether your briskets usually need paper at 165 or foil closer to 175.
The stall brisket is not a problem to fear. It is a normal phase that rewards patience and a little planning. Hold the pit steady, protect the bark, probe for tenderness, and give the meat time to rest. Low and slow, and do not overthink it.

No letters yet — be the first to write.