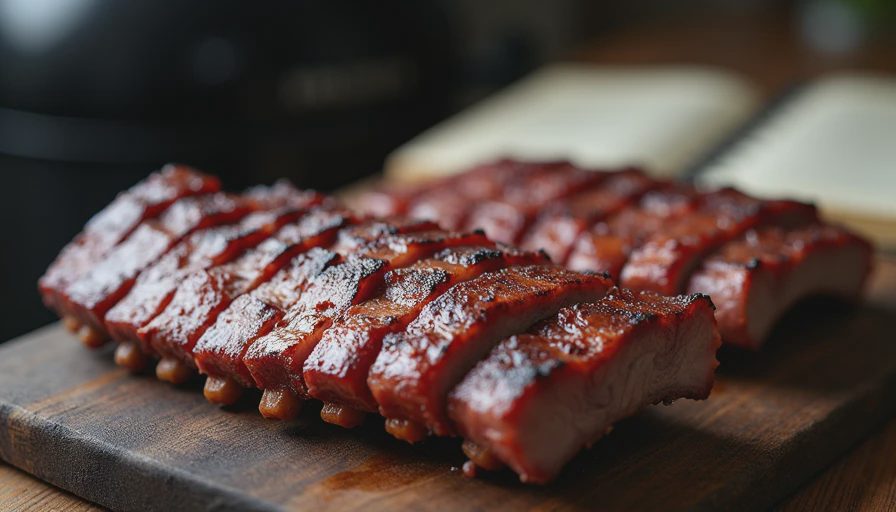
Low and slow, and don’t overthink it.
I used to blame the rub every time my ribs came out tough. Too much salt. Not enough sugar. Wrong pepper grind. I tweaked ratios for months like a man trying to solve a math problem that was never the problem.
The truth showed up one Saturday when I ran two racks side by side. Same rub. Same wood. Same cooker. One rack was tender enough to pull clean. The other fought back like it still had somewhere to be. The only difference was how I handled time, temperature, and the moment I decided they were “done.”
That cook finally convinced me: tough ribs are almost never a seasoning issue. They are a process issue. Here is the list of mistakes I had to stop making before my ribs started behaving.
The Myth That Wastes Everyone’s Time
Walk through any barbecue forum and you will find the same advice on repeat: “Your rub is too salty.” “Add more brown sugar.” “Try a different brand.” Sometimes those changes help a little. Most of the time they just give you a different flavor of disappointment.
Rub sits on the surface. Tenderness lives deeper. If the collagen has not broken down and the muscle fibers have not relaxed, no amount of paprika is going to save the bite. I learned that the hard way after one too many racks that tasted great and chewed like work.
Mistake One: You Are Cooking to Color Instead of Feel
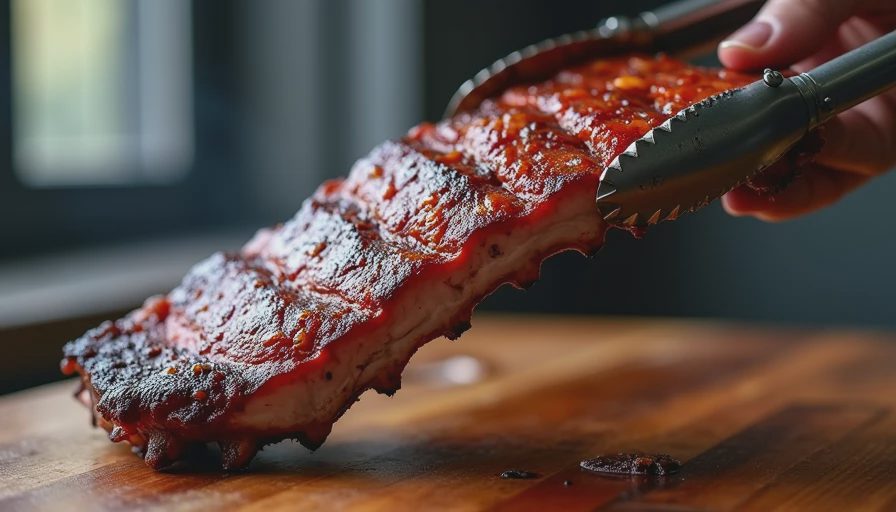
I used to pull ribs when the bark looked perfect and the meat had pulled back from the bones just enough for a photo. That visual checklist is useful, but it is not the finish line. Some racks look ready and still feel tight. Others look a little rough and probe like butter.
What actually works: I stopped trusting the clock and the color chart. I started picking up the rack with tongs and testing the bend. When it arcs gently and the surface cracks a little, I probe between the bones. If the probe slides in with almost no resistance, they are ready. If there is still drag, they need more time—even if the bark already looks magazine-ready.
Mistake Two: You Are Running Too Hot for Too Long
Ribs can take higher heat than brisket, but they still have limits. I spent a whole spring running my cooker at 300°F+ because I wanted to be done faster. The bark set quick. The meat tightened just as quick. The result was ribs that looked finished and felt like they were still holding a grudge.
What I changed: I dropped back into the 250–275°F range for most cooks and gave the racks the time they actually needed. The bark still formed. The fat still rendered. The difference showed up in the bite. When I do need to move faster, I accept that the window for error gets smaller and I watch the feel even more closely.
Mistake Three: You Are Wrapping at the Wrong Moment (or for the Wrong Reason)
The Texas crutch is not a requirement. It is a tool. I used to wrap every rack the second the bark looked set, then leave them in paper until the clock said they were done. Sometimes that helped. Sometimes it just steamed the ribs into a soft, mushy mess that still had tough spots.
What I changed: I wrap only when the bark is where I want it and the meat is starting to soften but not yet tender. I also stopped treating the wrap as a free pass to ignore the rack. I still check feel. I still finish unwrapped for a few minutes if the bark needs to tighten back up. The goal is controlled moisture, not a sauna.
Mistake Four: You Are Not Giving Them a Real Rest
I pulled racks straight from the cooker to the cutting board for years. The meat looked juicy on the surface and then tightened as soon as the knife hit it. Juice that should have stayed in the meat ran onto the board instead.
What I changed: Even a short rest—twenty to thirty minutes loosely tented—makes a noticeable difference. The fibers relax. The moisture redistributes. The bite improves without any extra cook time. On longer cooks I will hold them in a dry cooler the same way I do brisket. The ribs come out calmer and more consistent.
Mistake Five: You Are Fighting the Particular Rack in Front of You
Not every rack is the same thickness. Not every pig lived the same life. I used to force every cook into the same timeline and then wonder why some racks finished tough. The notebook finally got an entry that stuck: “Cook the ribs you have, not the ribs you planned.”
Now I check thickness when I buy them. I adjust time expectations. I accept that one rack might need forty-five minutes longer than its neighbor. That small flexibility has saved more meals than any rub recipe ever did.
What the Notebook Says After the Fixes
The tough-rib entries have gotten rare. When they do show up, the notes are specific: “Ran hot. Pulled on color. No rest.” The pattern is always process, never the seasoning.
I still experiment with rubs. I still care how the bark tastes. But I no longer expect the rub to fix a cook that was rushed, overheated, or under-rested. That expectation was the real source of the toughness.
The Simple Test That Settled It
Next time your ribs come out tougher than you wanted, run a quick mental checklist before you blame the jar of spices:
Did I cook to feel or to appearance?
Was the temperature steady and moderate?
Did I wrap with purpose or by habit?
Did the meat get any rest at all?
Did I adjust for the actual rack in front of me?
If any of those answers are shaky, that is the place to work. The rub can stay exactly the same.
Low and slow, and don’t overthink it.
Especially when the ribs are already trying to tell you what they need.


No letters yet — be the first to write.